MTA Clock
A cuckoo style wall clock for the G train
April 2020
I love taking the subway, and missed taking it during the pandemic.
Materials
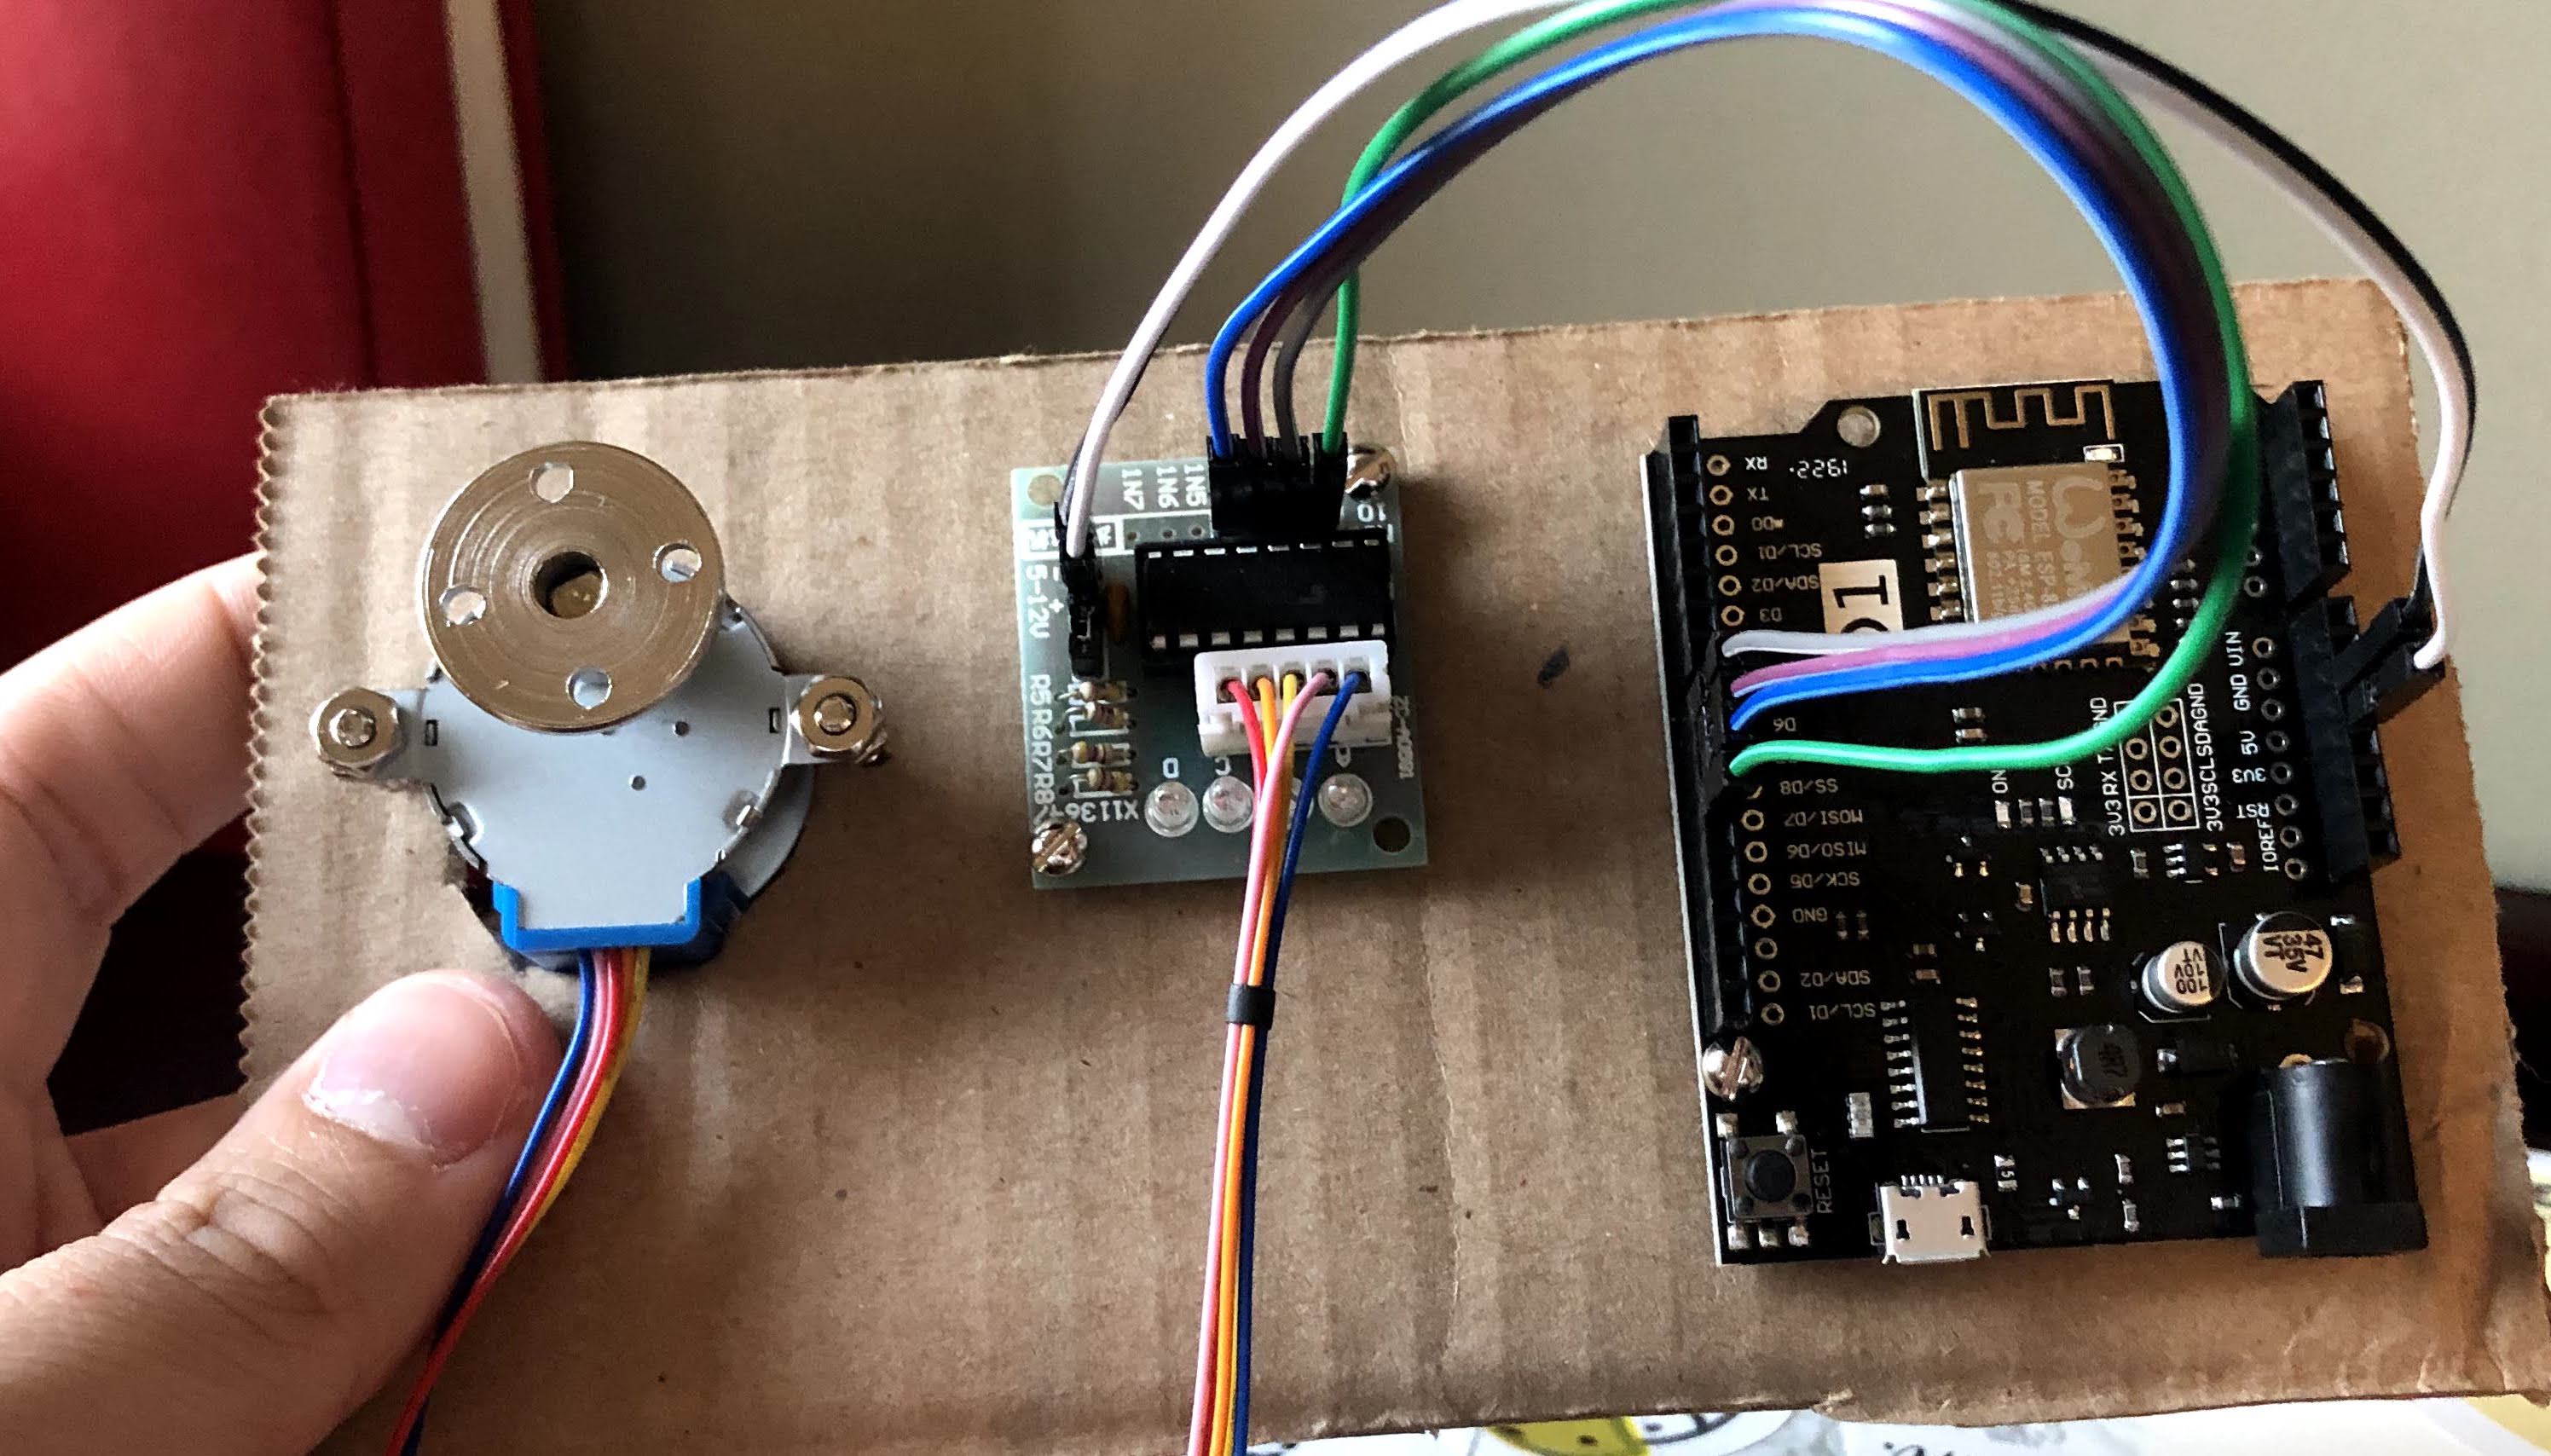
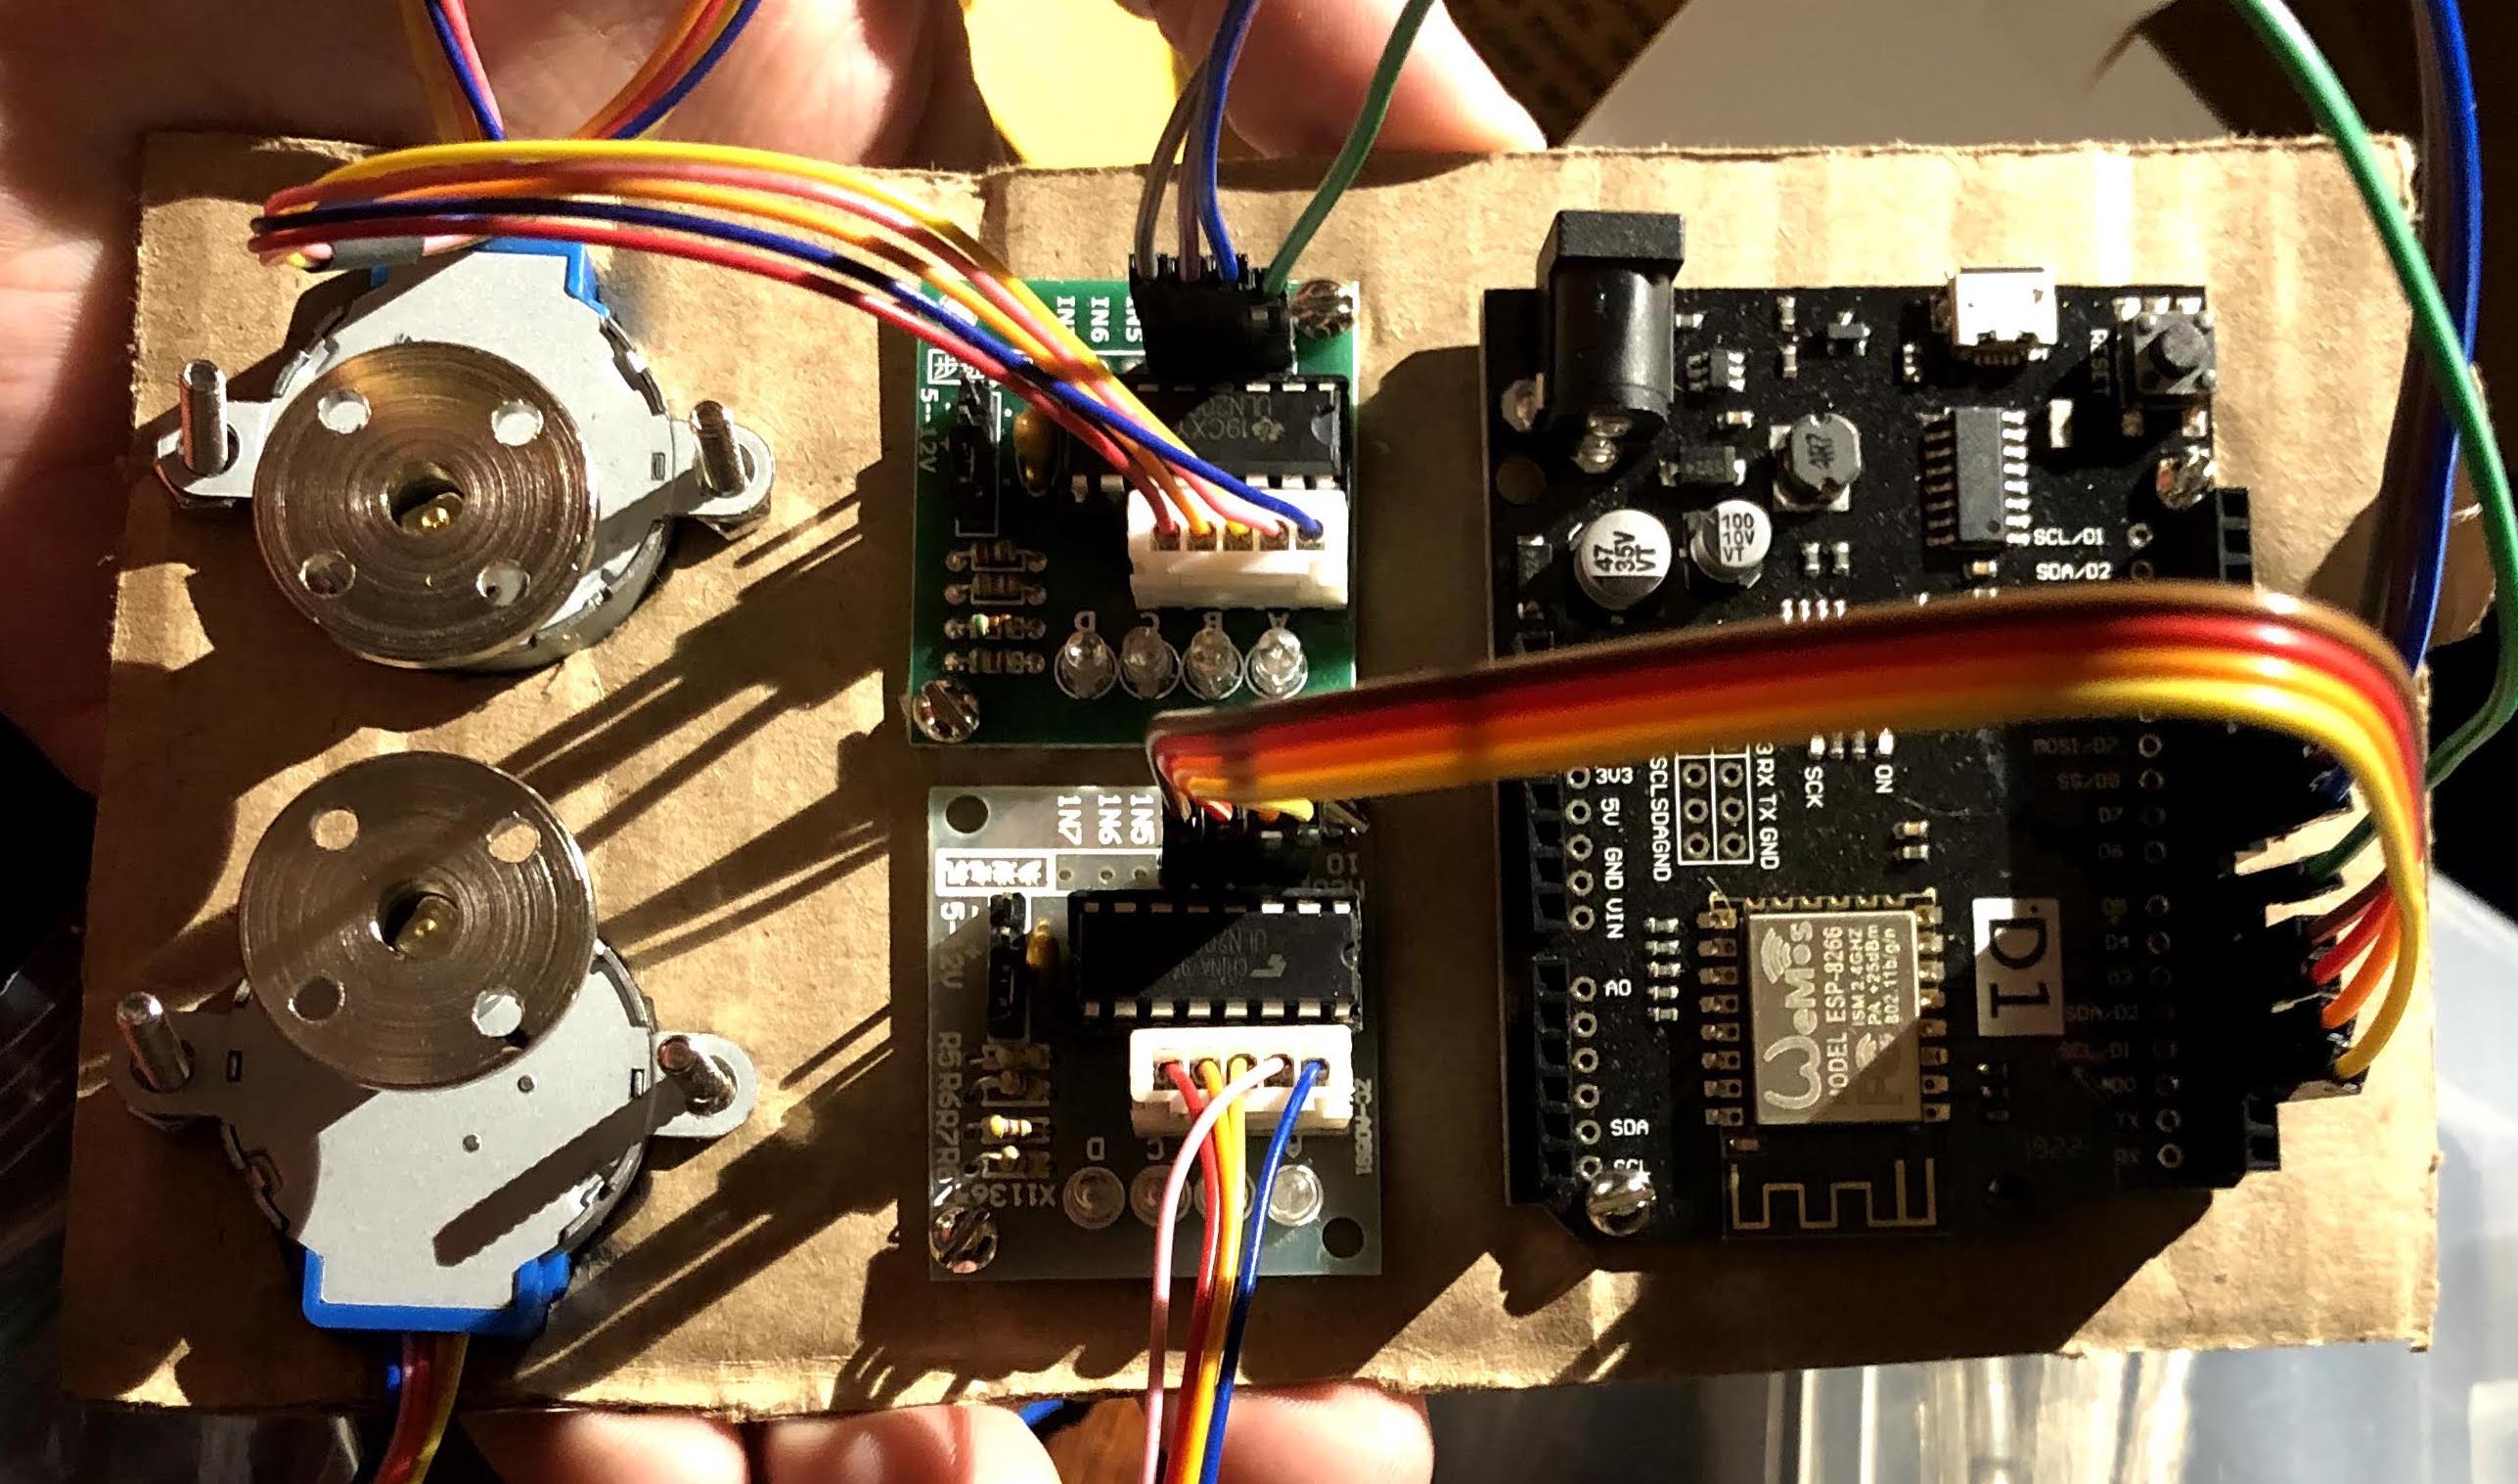
I found a cheap circuit board online called the Wemos D1 R2 with ESP8266 WiFi. I found it exceedingly difficult to work with in my IDE and would not recommend doing the same. Next time I have a project like this, I will use a regular Arduino Wifi. I also regret using 12V stepper motors, as they require power outside of the Arduino board, which felt like a fire hazard. I instead would maybe try and figure out a way to do this with low power servo motors, or would just ditch motors in favor of lights instead.
Construction
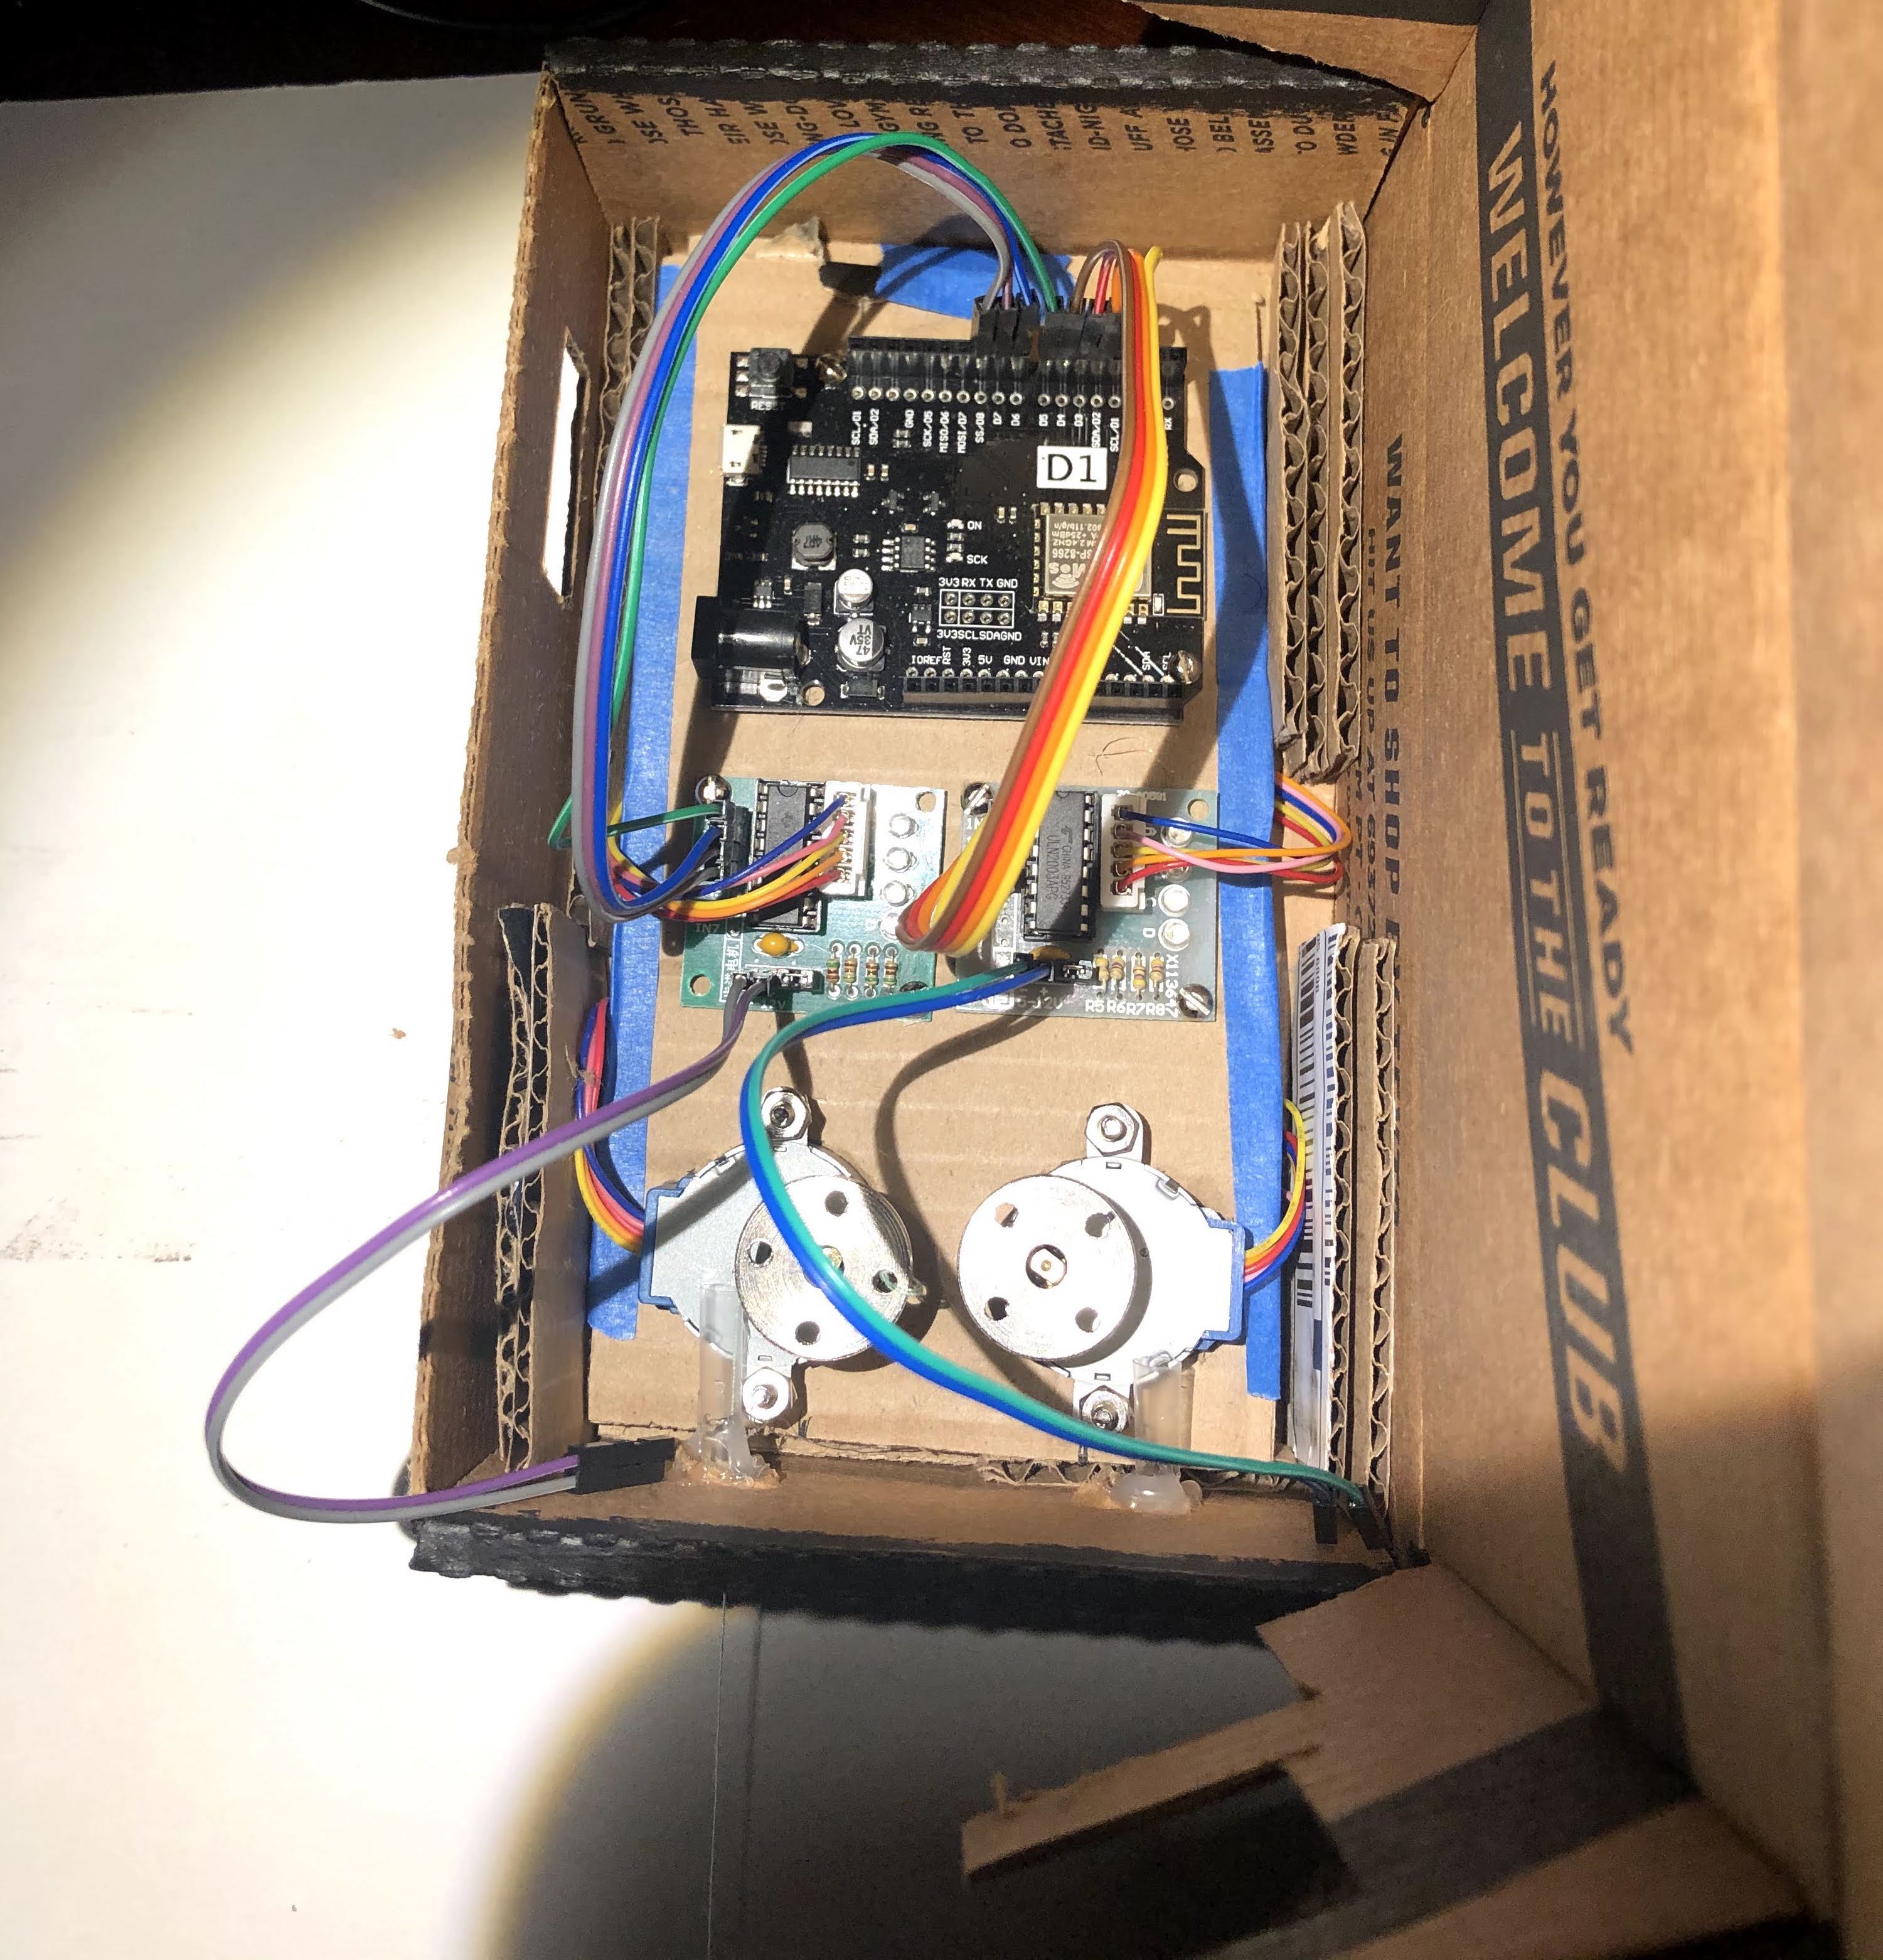
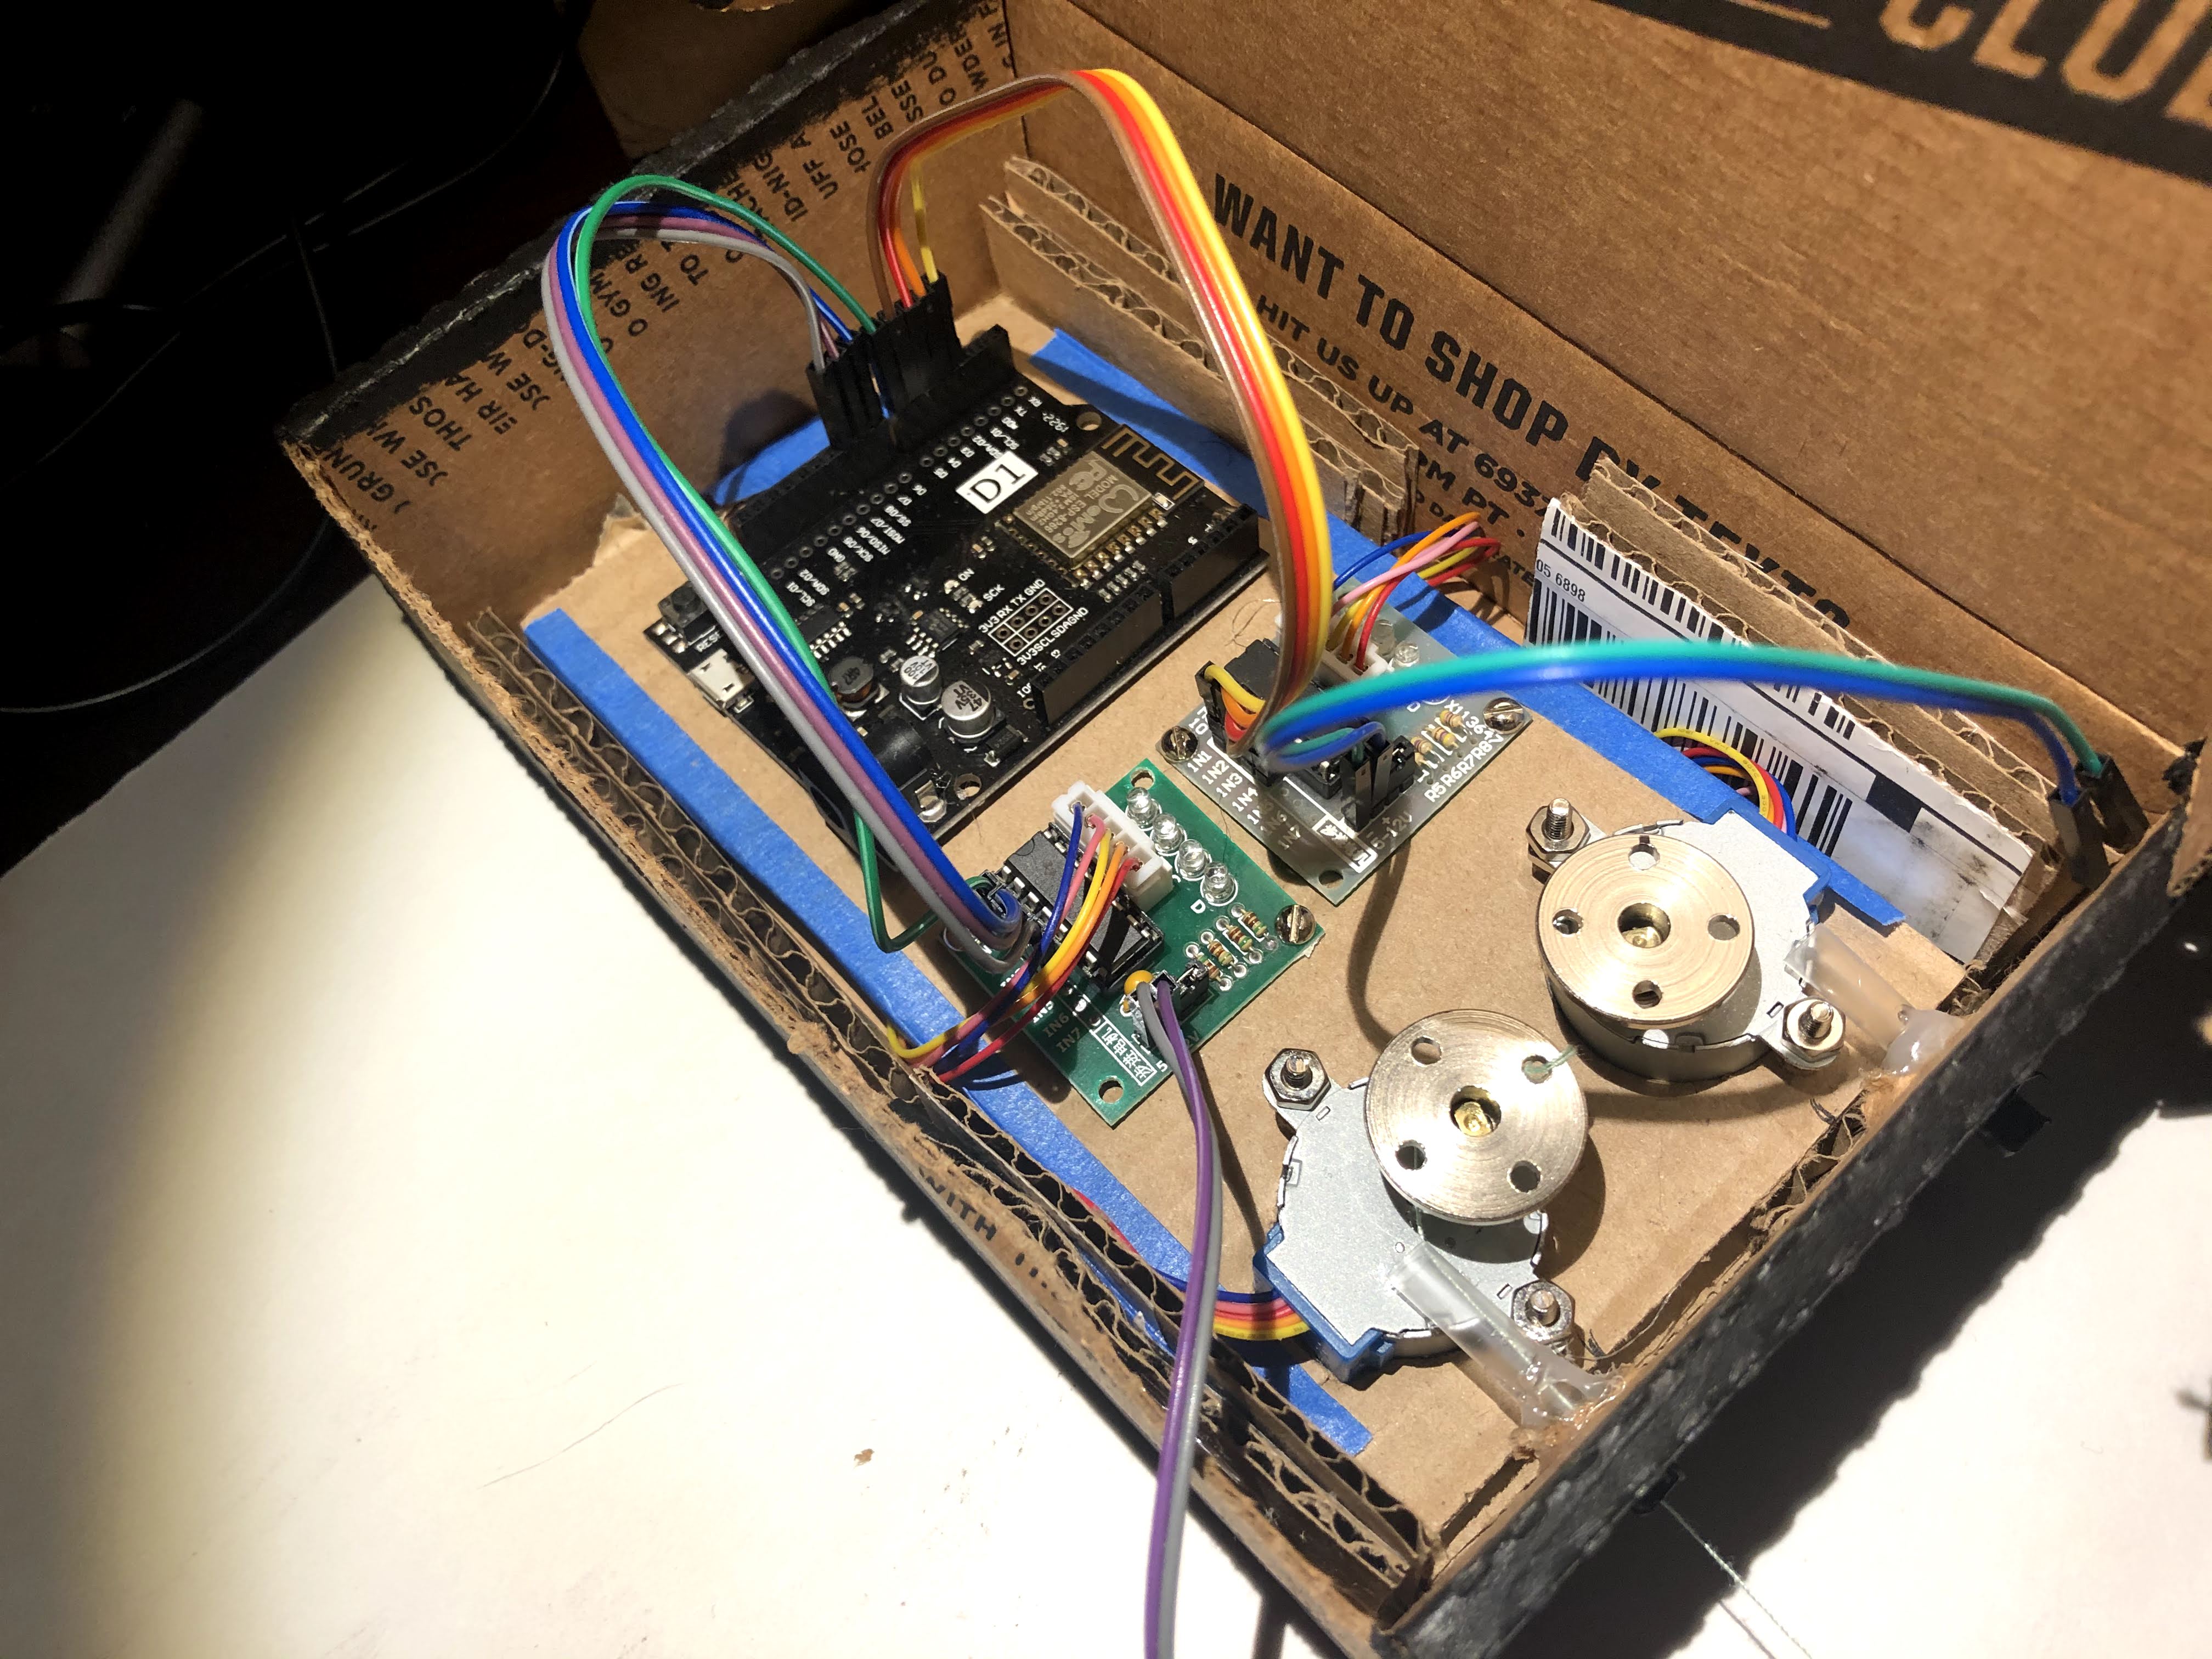
The Board
The board was simply cut out of cardboard with parts slotted into them.
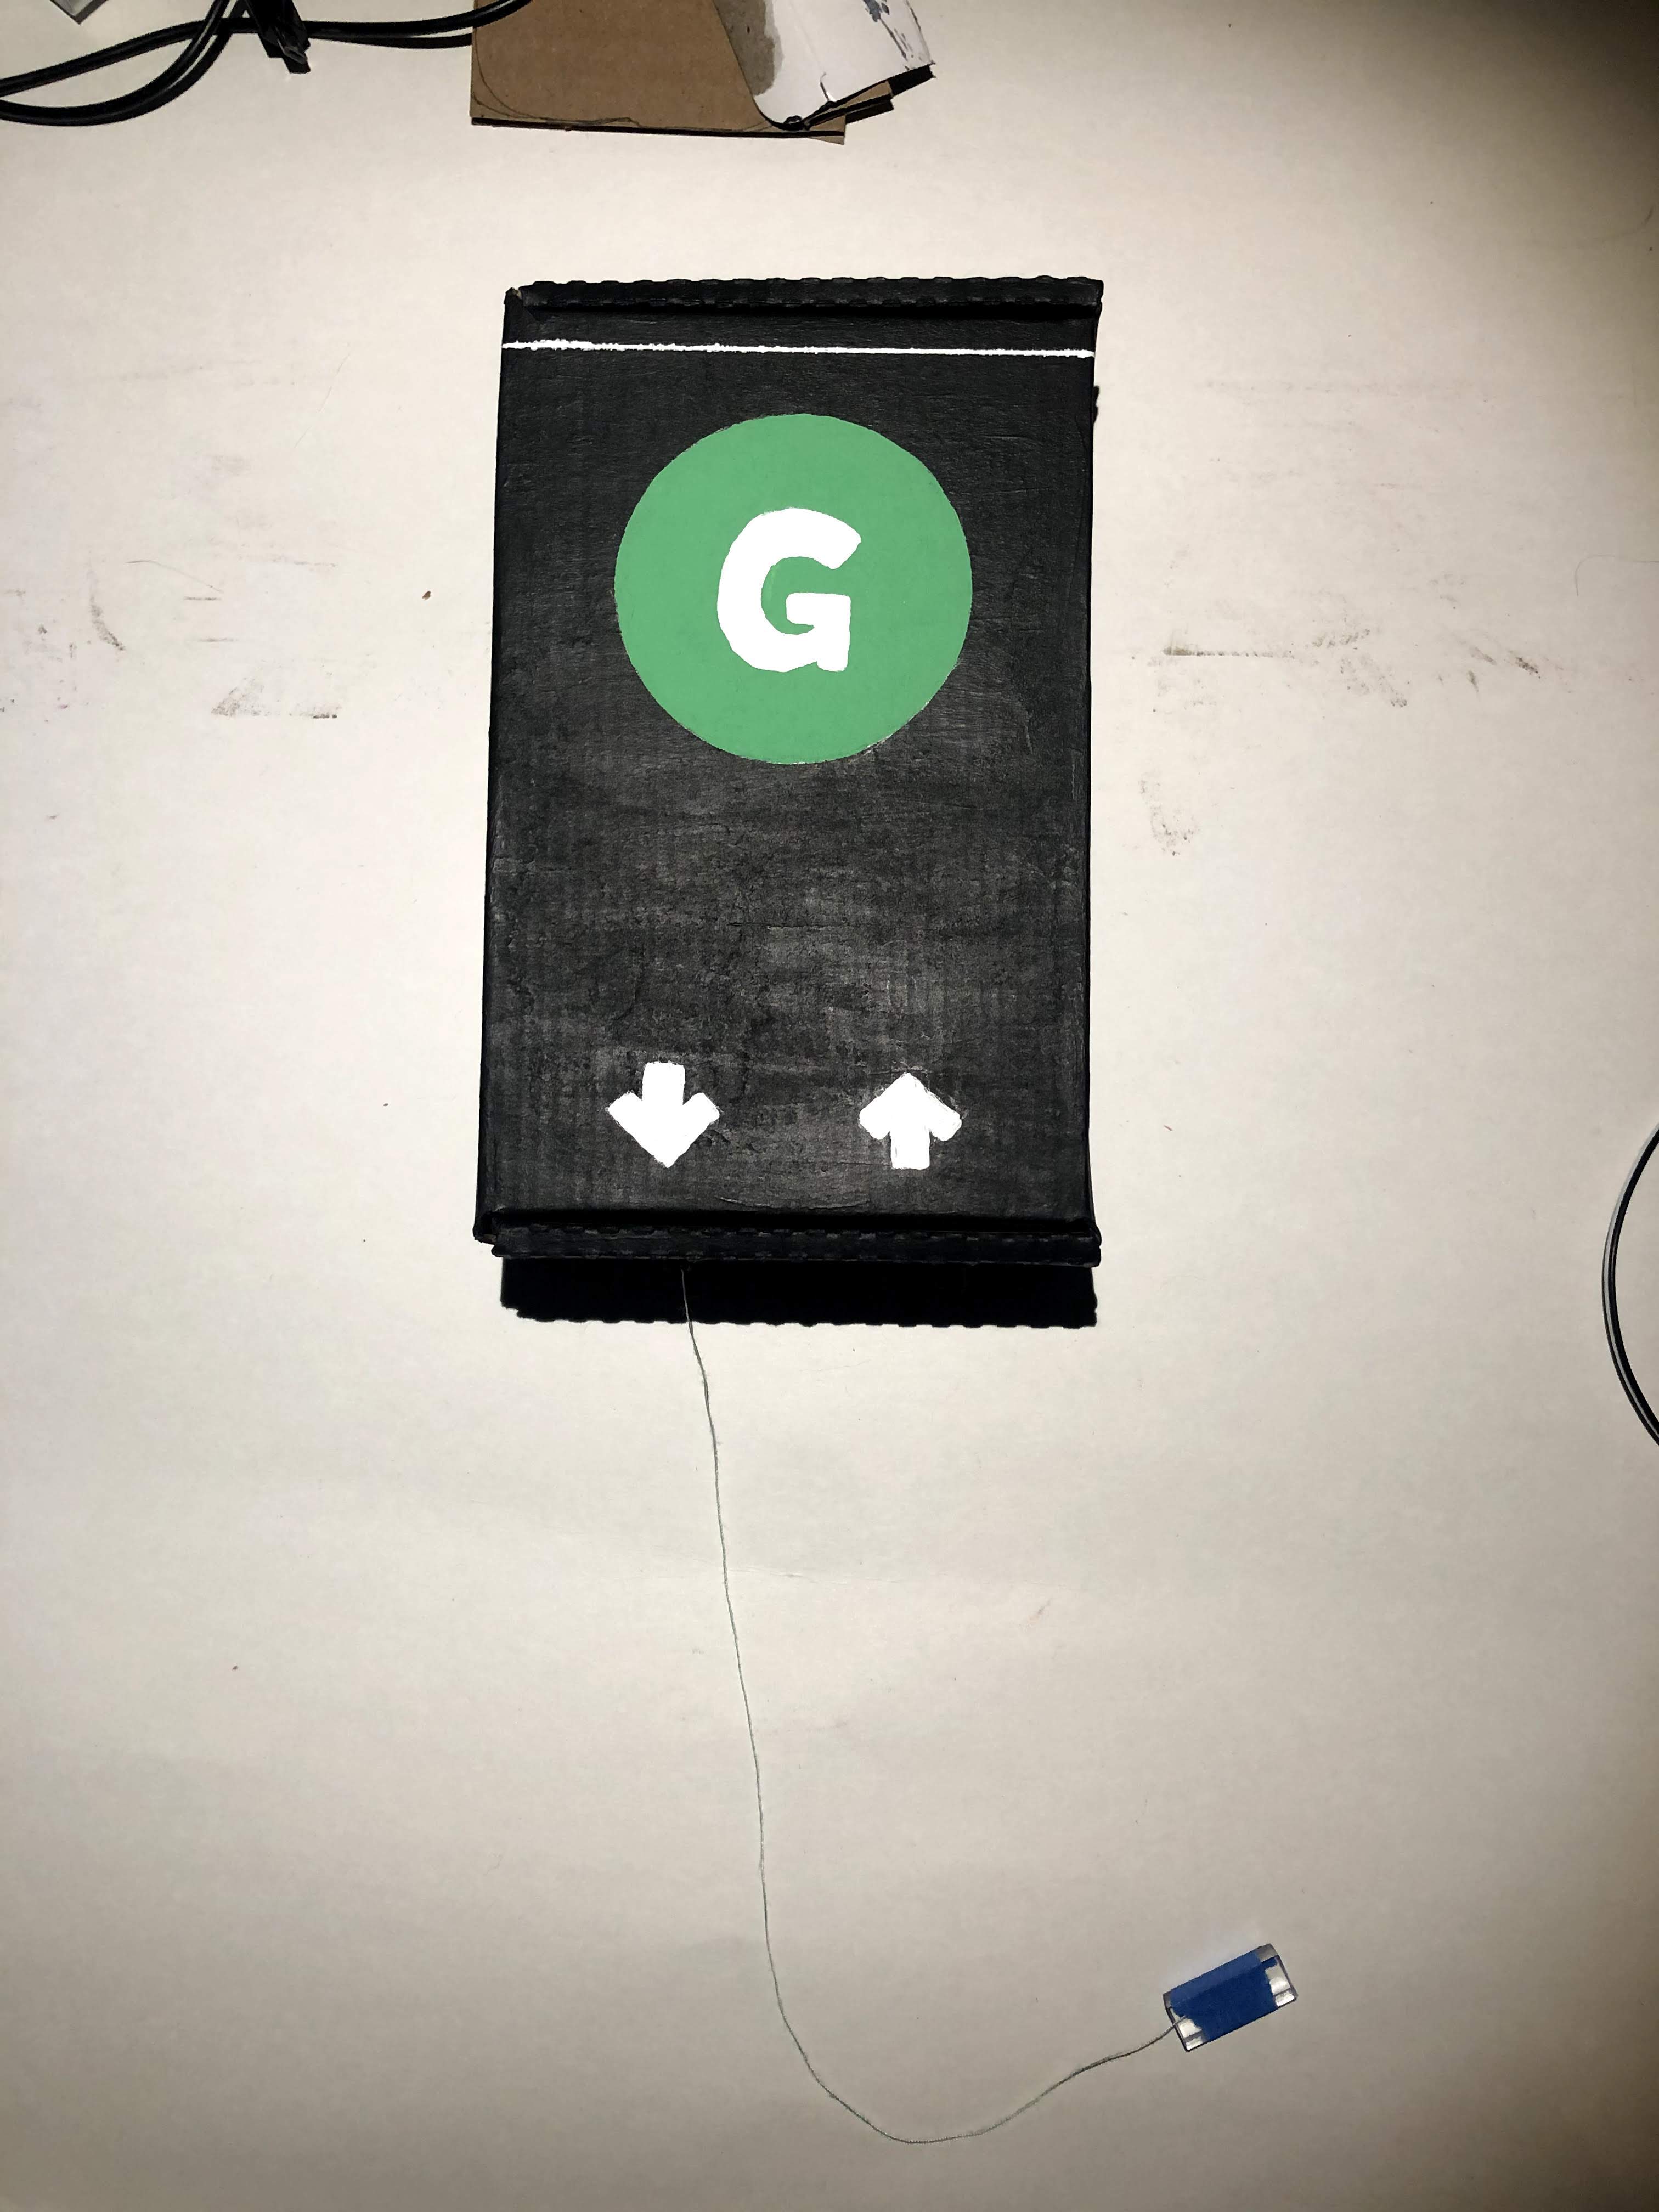
Decoration
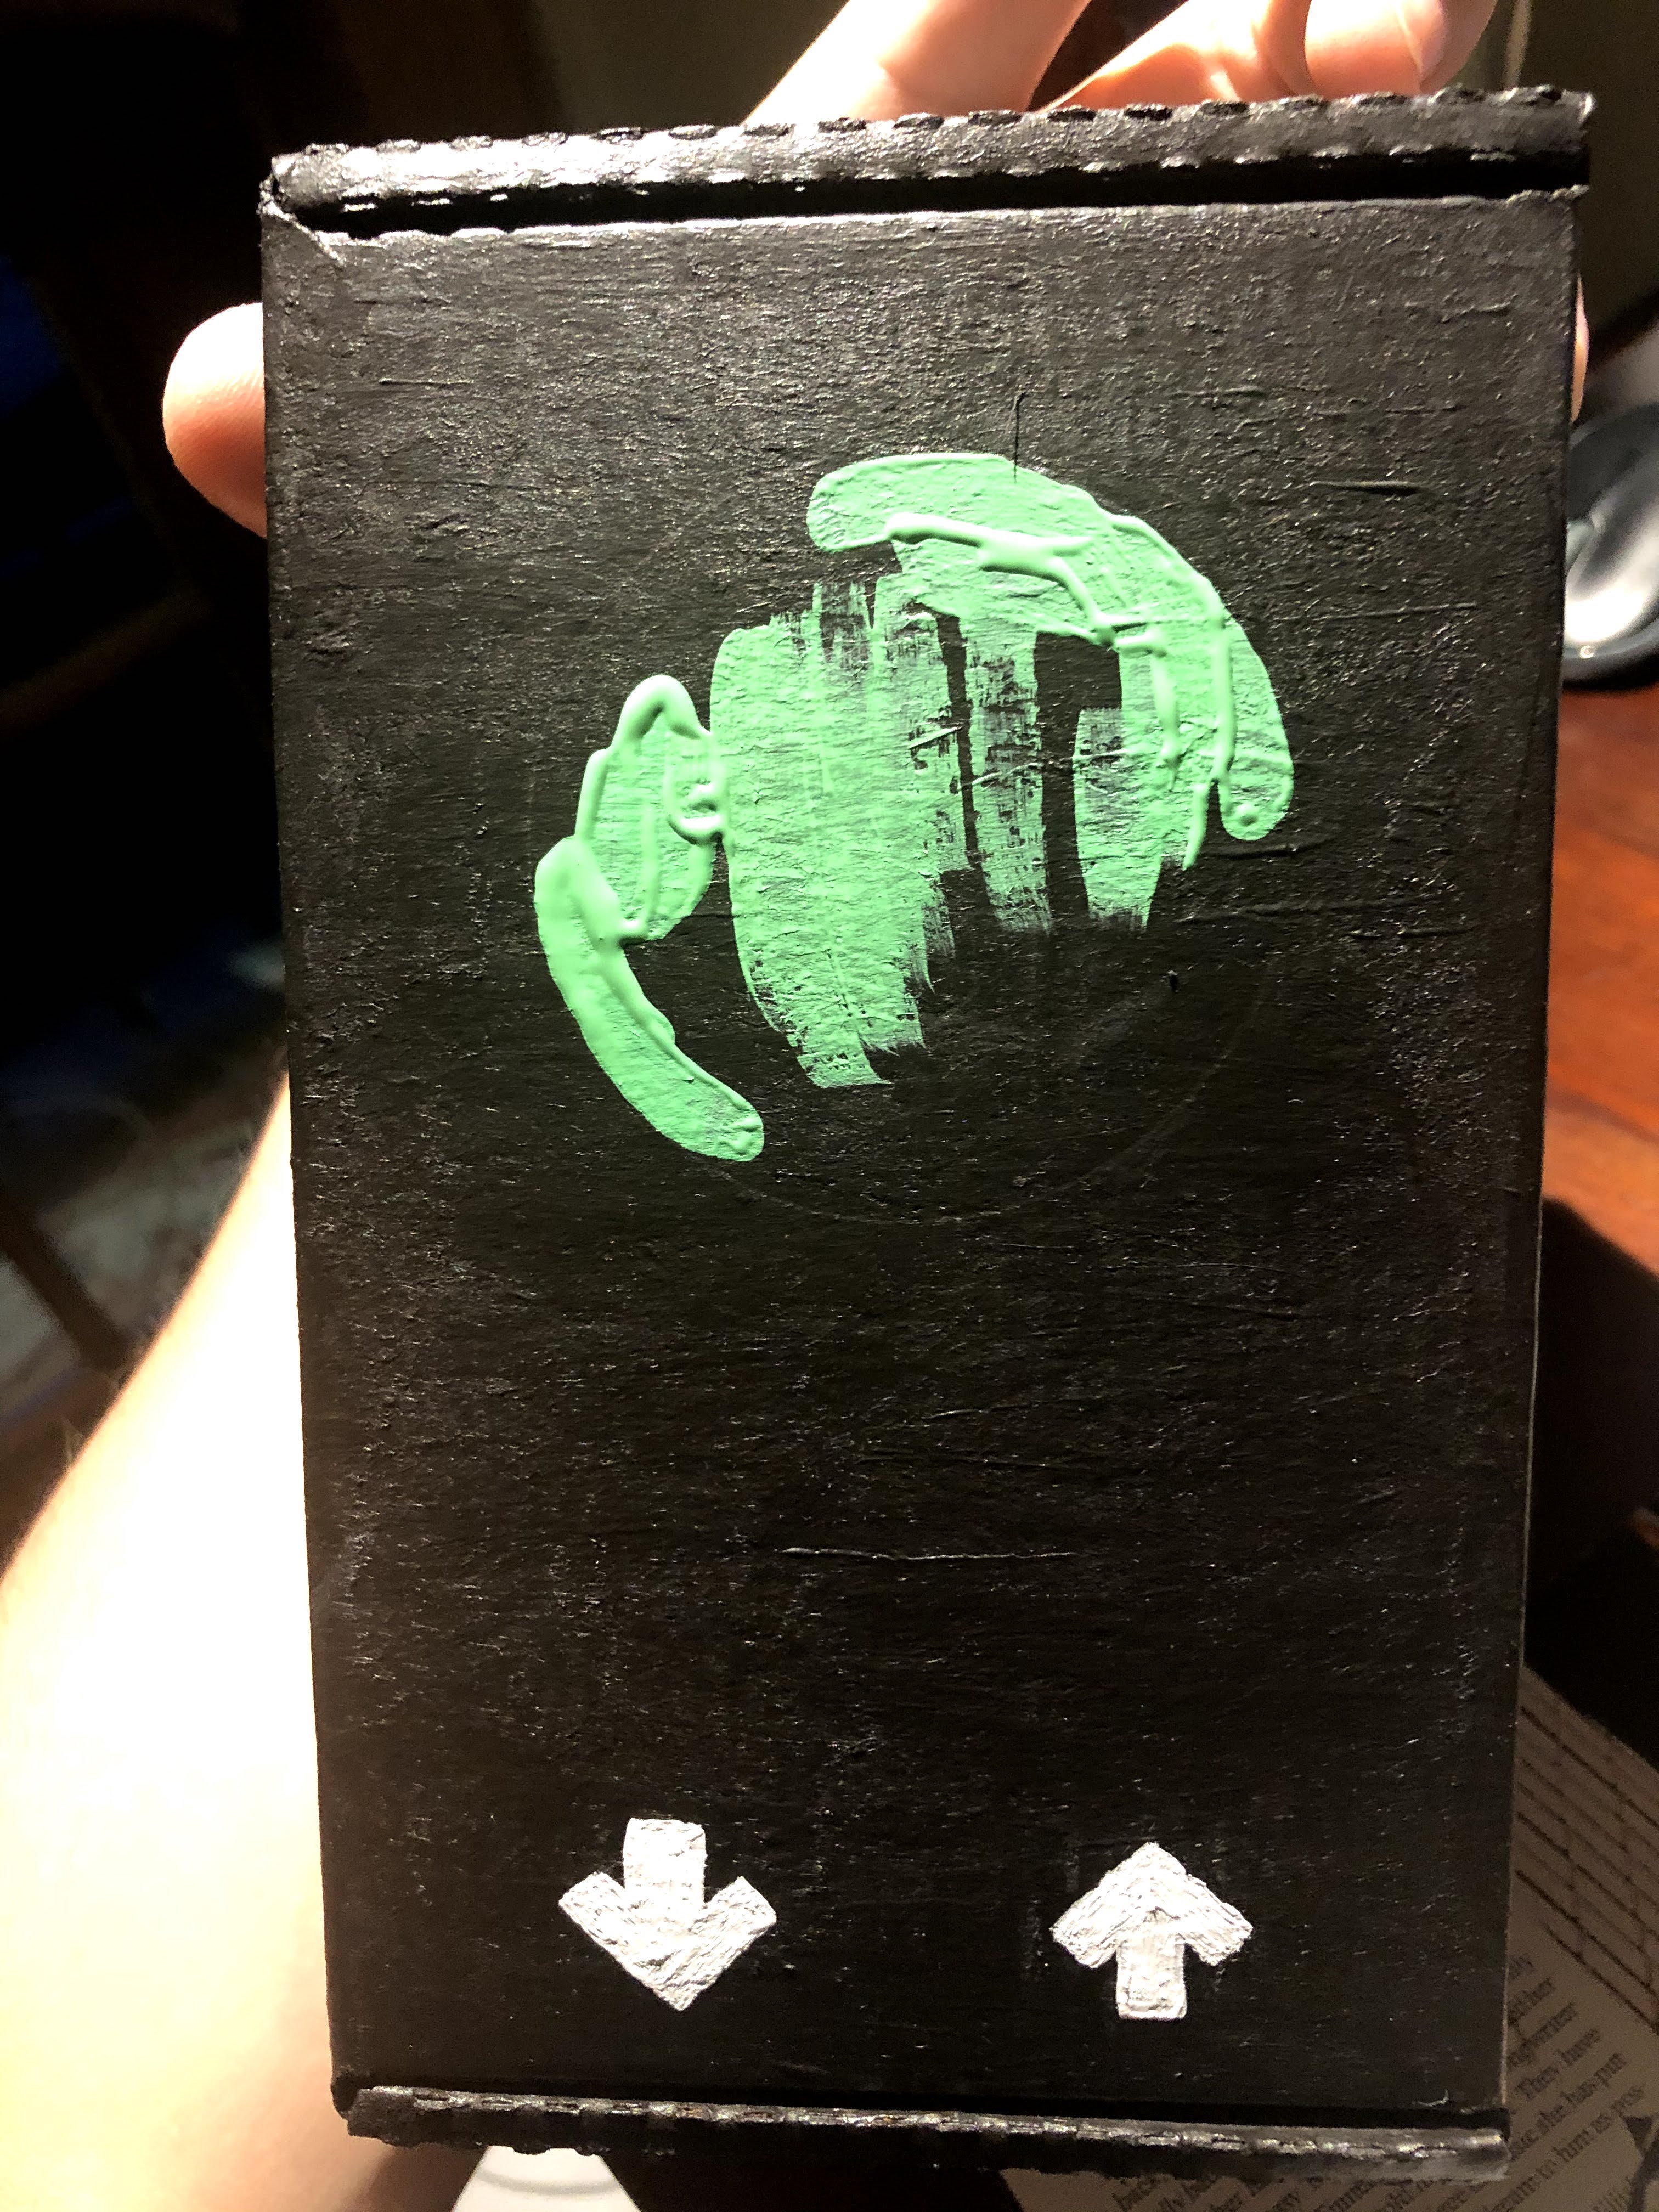
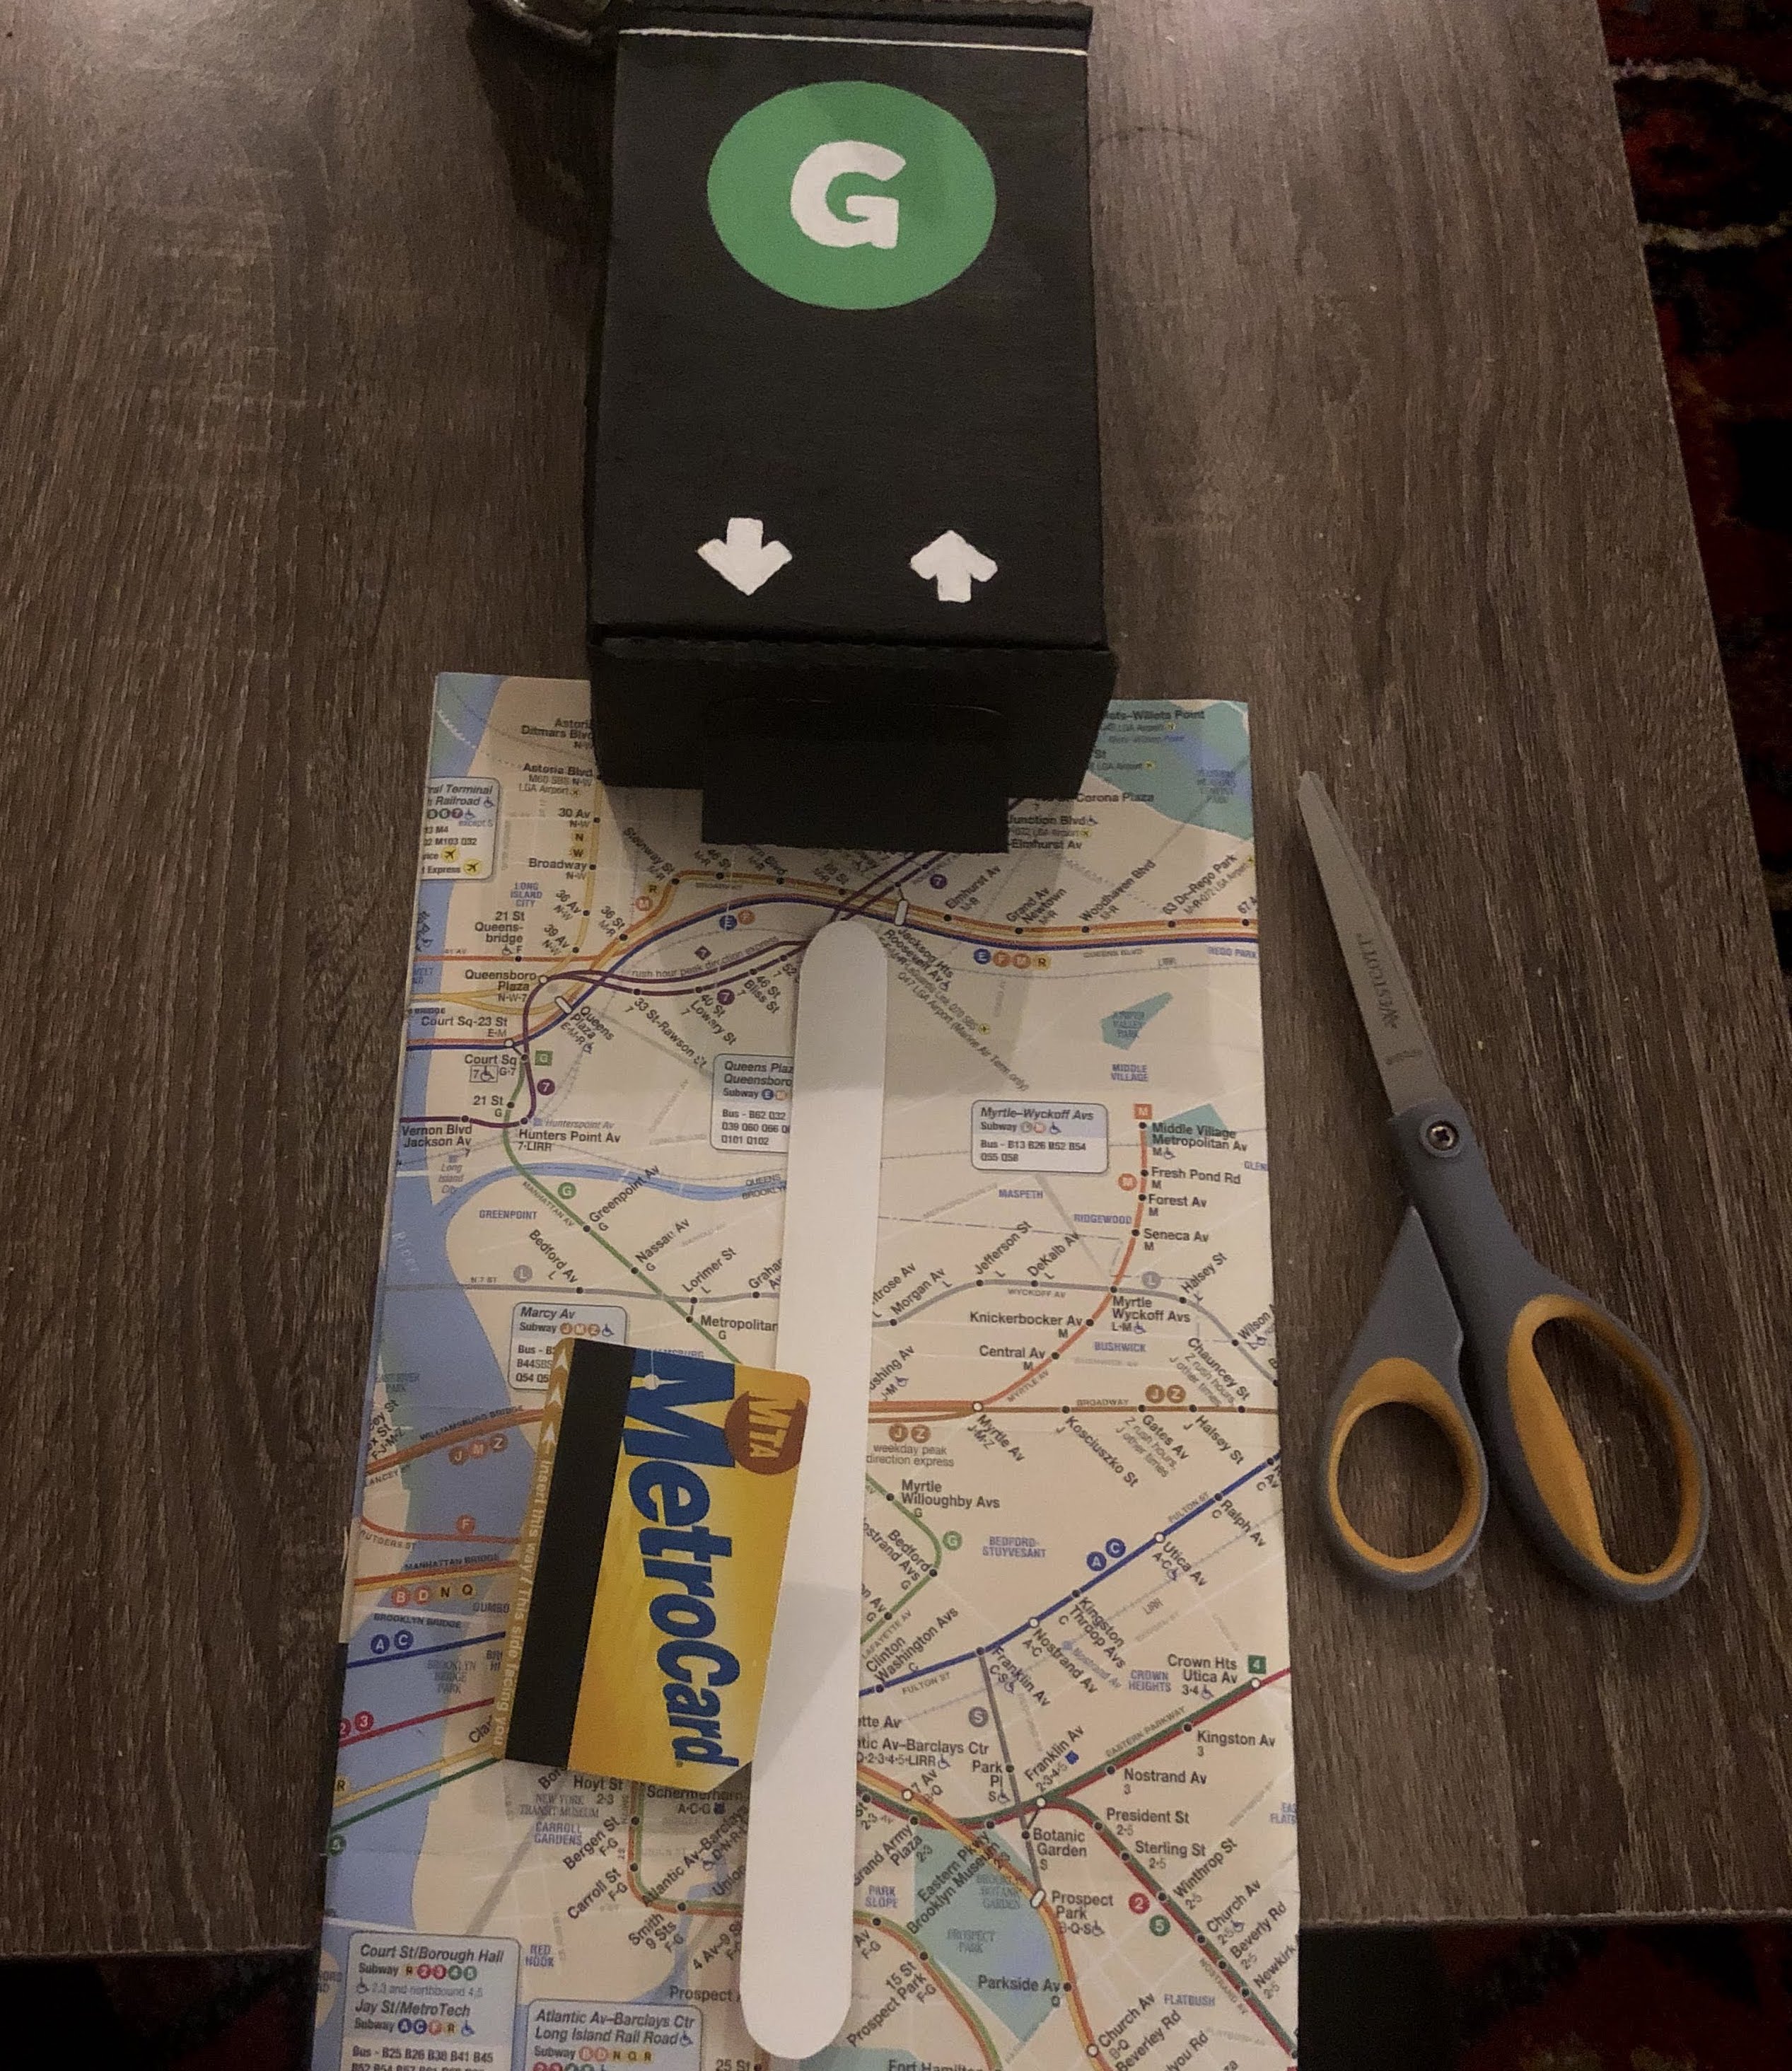
I used a Dollar Shave Club box to house the circuit board and painted the outside to match MTA signage, including arrows for up and downtown, the G for the train line, and a thin white line because that's what the MTA signs have.
For the back, I planned on making a mini subway line with stops to mark how far away a train is. I also grabbed a map from a subway info booth to use as a backdrop.
Assembly
I fit the circut board into the box using extra cardboard and glue. Notice the way the box is cut on the bottom flap to allow it to close properly.
I added straws to allow the string to slide up and down more easily.
Code
After building a class for using the MTA api, the serverless function logic was simple. Login to the MTA api and get the data for Queens and Brooklyn bound trains.
exports.handler = async (event) => {
	const mta = new MTA({
		stop: credentials.STOP,
		key: credentials.API_KEY,
		url: credentials.API_URL
	});

	const { qbt, bbt } = await mta.getTimes();

	return {
		statusCode: 200,
		body: `#Q${qbt}B${bbt}`,
	};
};
The loop for the Arduino involved a little bit of throttling.
void loop() {

  if (millis() > g_next_request_time) {
    // if it is past the next request time, make a request
    String response = send_request();
    qb = get_time_for_train('Q', &response);
    bb = get_time_for_train('B', &response);

    // set the next time to make a request to 3/4 of the shortest train time
    float request_delay = (qb < bb) ? qb : bb;
    request_delay = request_delay * 60 * 1000;
    g_next_request_time = millis() + int(request_delay) * 3 / 4;
  } else {
    // otherwise calculate the new wait time by subtracting how long it's been since the last request
    float time_since_last_move_in_minutes = float((millis() - g_last_move_time)) / float(1000 * 60);
    qb = (qb - time_since_last_move_in_minutes <= 0) ? 0 : qb - time_since_last_move_in_minutes;
    bb = (bb - time_since_last_move_in_minutes <= 0) ? 0 : bb - time_since_last_move_in_minutes;
  }

  // set the motors
  qStepper.setDestinationMinutes(qb);
  bStepper.setDestinationMinutes(bb);

  g_last_move_time = millis();
  // move the motors, this step takes time, so we will need to account for it when moving them the next time
  while (!bStepper.done() && !qStepper.done()) {
    qStepper.move();
    bStepper.move();
    delay(2);
  }

  // calculate how long it took to move and change the delay time to ensure its only 20 seconds
  int movement_time = millis() - g_last_move_time;
  int delay_time = (1000 * 20) - movement_time;
  delay(max(delay_time, 0));
}
Final
The final clock looked like this.
And would look like this if wall mounted with backing and toy subway cars.

Project Future
I would love to learn more about circuitry and purchase a 3D printer to make one of these that looks way nicer. I also have moved since building that and would maybe want to set up a website that would allow me to change the train settings.
- Netlify site with serverless functions
- A simple DB with train info that can be updated when I move or make a second clock